No Time Bread
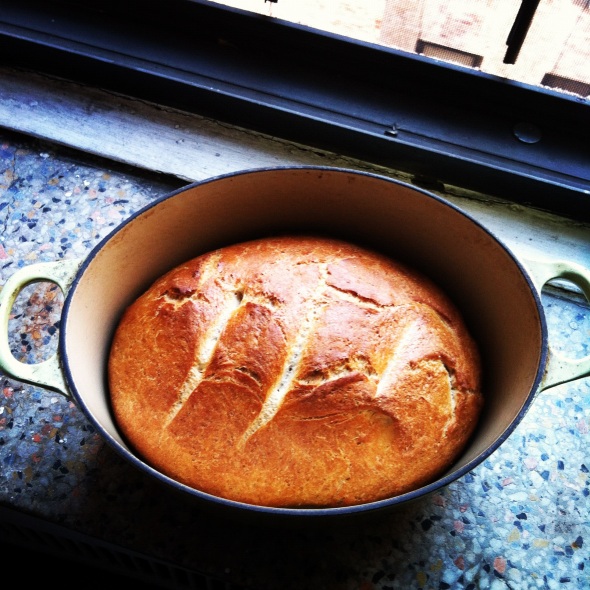
Posted: October 21, 2012 Filed under: Bread, Recipe, Tina Wrote It 8 CommentsI know we’ve referenced this recipe before, but I wanted to bring it up again because it is a great example of how you can make something that is better than store-bought (sliced white bread, I am looking at you). If you’re scared of baking or put off by the amount of time it can take, try this one out. It can be on the table in a little over an hour and it’s easy, cheap and makes your house smell amazing because you will be making FRESH BREAD! If you have bread flour, great! If not, don’t sweat it, this recipe works fine with all-purpose, although you may need a bit more of it. Just follow the directions and you’ll have warm bread to smother with butter or cheese or whatever else you like.
No-Time Bread from Apartment Therapy
Limelight
Posted: October 19, 2012 Filed under: Recipe, Soup, Tina Wrote It | Tags: brookln, frugal, soup, video 1 Comment$30 Bucks a Week was a feature on NY12’s Brooklyn cable news yesterday! We were interviewed by the extremely nice Kena Vernon at our local supermarket and then took her back to our apartment to make some lentil and sweet potato soup. The segment is brief, but we were excited that our message of shopping for fresh food and staying away from prepackaged stuff came through.
For the soup, we sauteed chopped onions and sweet potatoes in olive oil and added 1 cup of homemade broth concentrate, 2 cups of water, a cup of lentils and salt, pepper and fresh thyme. We let the whole thing simmer until the lentils were cooked through and it was the perfect lunch to accompany today’s rainy day.
Baked Donuts
Posted: October 17, 2012 Filed under: Baking, Recipe, Tina Wrote It | Tags: baking, donuts, easy, quick Leave a commentFall means baking! I love summer (salads, garden veggies, tomatoes, sunshine), but fall is my favorite season because I get to start baking again. Turning on the stove in the summer is something I am loathe to do, so come fall, it is baking time!
Using my trusty donut pan, I used this very easy recipe—with modifications (used olive oil and regular dairy). You can really dress these up with just about anything. Get creative! Our toppings included:
- melted chocolate mixed with a bit of bourbon and topped with chopped dried figs
- apple butter with homemade granola sprinkled on top
- cinnamon & sugar
Easy Yogurt Cake
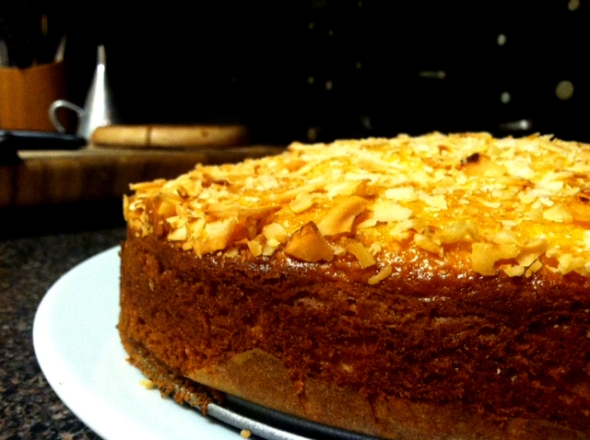
Posted: October 16, 2012 Filed under: Baking, Recipe, Tina Wrote It | Tags: baking, dessert, easy, healthy 1 CommentWe had some yogurt that was nearing its expiration date in the fridge and I remembered the amazing Gâteau au yaourt from Chocolate & Zucchini. An oldie, but a goodie, this cake is easy, delicious and extremely adaptable. I used nonfat plain yogurt, used bourbon instead of rum and glazed the top with some apple cider and sprinkled toasted coconut flakes on the top of it for the last 10 minutes of baking. You could throw some jam in between the layers, top with whipped cream, glaze with chocolate and sprinkle with hazelnuts….the possibilities are endless for this moist and tangy base. You could also eat it plain, with a cup of coffee, for breakfast. Cake for breakfast may help dieters. Seriously!
Apple Onion & Butternut Squash Tart
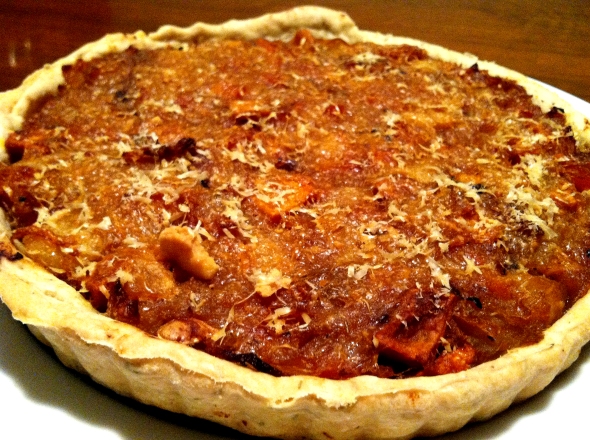
Posted: October 13, 2012 Filed under: Appetizer, Baking, Recipe, Tina Wrote It | Tags: appetizer, apples, easy, onions, tart 3 CommentsAnd now we are at the last of our apples. Thanks apples, you had a good run. We made Very Lazy Fall Apple Butter, an apple crumble, Butternut Squash & Apple Soup, Apple Onion Spicy Chutney and for the finale, this Apple Onion & Butternut Squash Tart. Serve for breakfast, lunch or dinner or cut into thin slices for a great appetizer – I bet it would go fabulously with a dry prosecco. This is a super versatile and delicious tart. The onions, apple and squash cook down to form a great caramelized base that contrasts nicely with the buttery/herbed crust and the salty cheese.
Inspired by this Martha Stewart recipe, I decided to bust out our Rosemary Tart Dough used in the Tomato Tart recipe (scroll down for the tart dough part).
Apple Onion & Butternut Squash Tart
Ingredients:
- 5 onions, peeled and thinly sliced
- 4 apples, peeled and chopped
- 1/2 butternut squash, cut into 1/2″ cubes and roasted (we had this leftover from the soup, you can add the cubes in when you add the apples to save you a step, I’m sure it will be fine)
- salt
- olive oil
- apple cider (vegetable broth or water would do in a pinch)
- 1 Rosemary Tart Dough
- 1/4-1/2 cup grated Parmesan or pecorino cheese
To Do:
- Make your Rosemary Tart dough and be sure to refrigerate it overnight or for at least a couple of hours.
- Heat up the olive oil in a large pot and add the onions. Cook until softened, about 10-15 minutes.
- Add the apples (and butternut squash if it’s not roasted) and 1/4 cup apple cider or water. Let everything simmer with a lid on the pot until caramelized, about 30 minutes. Give it a stir every now and then and add more cider or water so nothing gets burned. Give it a taste. Taste good? Great? Need more salt and/or pepper, season away!
- Heat oven to 375F. Roll out your tart dough and press into a tart pan (f you have leftover dough roll them into twists, sprinkle with parm and bake them – extra treat!). Prick the bottom of the dough with a fork a few times. If you have some spicy chutney, spread it along the bottom and bake for about 10 minutes. If you don’t, sprinkle the bottom with a bit of grated Parmesan cheese or pecorino and bake for about 10 minutes.
- Remove the tart dough from oven and pile on the onion/apple/squash mixture. Spread evenly throughout the pan and top with some more cheese. Your call on how much cheese – remember these are salty cheeses.
- Bake for about 30-45 minutes or until the tart dough and cheese are a beautiful golden brown.
Apple Onion Spicy Chutney
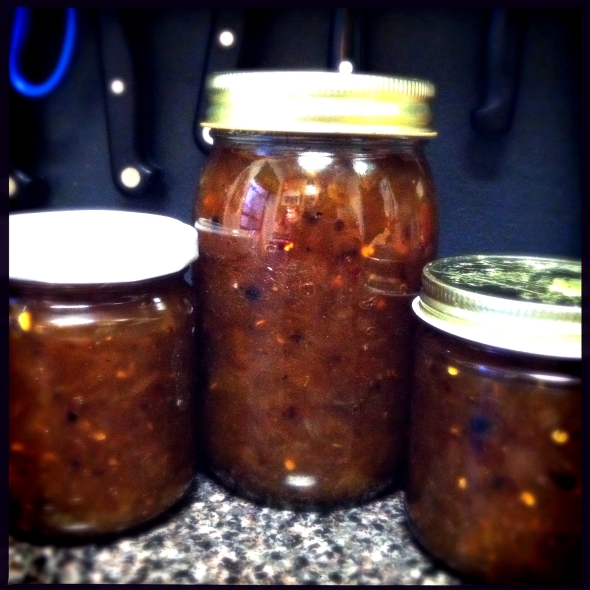
Posted: October 10, 2012 Filed under: Canning, Recipe, Tina Wrote It | Tags: apples, Canning, chutney, easy 5 CommentsI just googled “what is the difference between a jam and a chutney” because I wasn’t sure whether to call this recipe a chutney or a jam. Turns out, a chutney incorporates sweet, spicy and sour elements and isn’t as smooth as a jam. So, this IS a recipe for chutney!
Another recipe created out of necessity to get rid of all of the apples from apple picking. This might be the new hit after Tomato Jam.
It’s spicy, sour and a bit sweet from the apples and caramelized onions. Perfect with grilled cheese sandwiches, in a tart, slathered on eggs, brushed on tofu, plopped into soup….you get the idea.
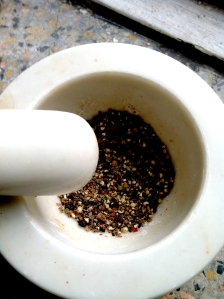
After taking a sauce class with Peter Berley, I’ve really been into grinding my spices right before using them in a recipe. I used our trusty mortar and pestle, but am a big fan of using an out-of-commissioned coffee grinder for large quantities.
Apple Onion Spicy Chutney
Adapted from this recipe.
Ingredients:
- 8 onions, chopped finely
- 4-5 apples, peeled and diced
- 4 cloves garlic, peeled and minced
- 2 cups white vinegar
- 1/2 cup cider vinegar (you could probably use all cider, I just didn’t have enough)
- 2 cups sugar
- 1/2 cup brown sugar
- 3 bay leaves
- 2 teaspoons crushed peppercorns
- 1 teaspoon crushed cloves
- 1 teaspoon crushed allspice
- 1/2 tablespoon crushed red pepper
- 1/2 tablespoon salt
To Do:
- Heat up a bit of olive oil in a large pot and add the onions. Let them cook until softened, about 10-15 minutes.
- Add the rest of the ingredients, stir and bring to a boil. Stir for about 5 minutes and then reduce heat to a simmer.
- Cover pot and walk away. Come back and give it a stir every 15 minutes or so. You want everything to become a lovely brown color and cook down – it can take a while.
- Taste it. Do you like it? Add more spices if you want. Once you can run a spoon through the mixture and a path forms without liquid filling it up, you’ve got the right consistency.
- Pour into jars and can – process in a hot water bath for 15 minutes. You could also pour into jars and put them in the fridge. They should last for a while because of all of the sugar and acid.
Very Lazy Fall Apple Butter
Posted: October 7, 2012 Filed under: Canning, Recipe, Tina Wrote It | Tags: apples, Canning, fall 2 CommentsI love apples. I try to eat one a day, if not more. Last weekend, we went up to Stuart’s Farm for a friend’s apple picking birthday party (genius!). After gathering about 50 pounds of apples with friends and consuming an amazing amount of cider donuts, we came home with 18.5 pounds of apples. What to do? First up, Lazy Apple Butter, which used to be featured on my first food blog “Combustication” and is up on the web no longer. This blast from the past was made by peeling, coring and chopping enough apples to completely fill a crockpot, adding about 1 cup sugar, 1/2 cup brown sugar, a pinch of salt and a freshly ground teaspoon of cloves and a cinnamon stick. Add more or less sugar to your liking and let the crockpot do its thing for about 8 hours on low. If the apple butter is not dark enough or is still pretty thin, take off the lid and let it cook down on low for about an hour. Trust your judgement. If it tastes good and sticks to a spoon, can it!
This is pretty much the recipe and canning tips I followed. Came out with 1 half-pint, 4 pints, 1-16 oz jar and some left over! Holiday presents here we come!
White Beans and Things
Posted: June 28, 2012 Filed under: Beans, Recipe, Tina Wrote It, Veggies | Tags: beans, easy, fast, greens, recipe 2 CommentsOur garden has been treating us quite well this season! In addition to LOTS of lettuce, we’ve been harvesting garlic scapes, chard and a bit of purple kale. This melage was used in this white bean salad of sorts. Heated up some olive oil, added a sliced shallot, added chopped garlic scapes and cooked for a few. I then added the chopped up greens and until they wilted and added a little more than a cup of white beans and a handful of dried cranberries. Salt and pepper to taste and then some toasted almonds thrown in for good measure. Delicious on its own or over a whole grain or lettuce.
Whole Wheat Buns
Posted: March 6, 2012 Filed under: Bread, Recipe | Tags: bread, veggie burgers, whole wheat 1 CommentWe had a whole bunch of leftover cooked rice and lentils, so I decided to make some veggie burgers. I blended the lentils, brown rice, egg, onion, some garlic, oats and spices until I could form patties and then baked them on parchment paper. It’s pretty much our m.o. when it comes to veggie burgers. What we didn’t have were buns. Combing the web for a recipe that included buttermilk, I came across this one and modified it a bit by decreasing the amount of AP flour, increasing the wheat and adding some vital wheat gluten to add elasticity and rise. They came out great! Instead of using an egg wash, I used buttermilk and sprinkled with black and regular sesame seeds. A great and simple bread recipe.
Irish Soda Bread
Posted: December 7, 2011 Filed under: Baking, Recipe, Tina Wrote It 8 CommentsKinda, sorta, baaa-aack. Don’t worry, we’re still being super frugal. So frugal, in fact, that in an attempt to get rid of some starting-to-get sour milk, I made some of this beautiful Irish soda bread. The recipe is super easy and if you have milk that is just beginning to turn (please DO NOT use curdled or rancid milk), use it instead of buttermilk! This bread is best day-of and the next day – it doesn’t keep too well, so eat up or tightly wrap and freeze a loaf or give one to a friend! Delicious with cheddar cheese, sweet butter, soups and just about anything.
I adapted this recipe from Epicurious – the original recipe can be found here.
Irish Soda Bread
Ingredients:
- 4 cups all-purpose flour OR 2 cups all-purpose and 2 cups whole wheat pastry flour
- 1 tablespoon baking powder
- 1 teaspoon salt
- 3/4 teaspoon bakin soda
- 1 cup golden raisins, soaked (if you have time, do this overnight, if not, just start when you decide to bake) in a mixture of half hot water and half bourbon (or just all water)
- 2 cups just-about-to-turn milk or buttermilk or homemade sour milk (2 tablespoons vinegar + 2 cups milk)
To Do:
- Mix together the dry ingredients. Strain raisins, pat dry a bit, and stir those in too.
- Add milk and stir until the dough forms.
- Turn dough on a well-floured surface and knead with your hands or use your dough hook on a stand mixer to mix for a minute or too.
- Half the dough and with floured hands shape each bit into a ball and smush down.
- Transfer bread to a lightly greased baking sheet and cut an X on the top of each loaf.
- Bake for 45-55 minutes or until a tester comes out clean. Place on racks to cool. Slice and enjoy!




Recent Comments