Big Changes
Posted: November 9, 2012 Filed under: Uncategorized 9 CommentsIt’s been just over four years since our first post here on $30/Week. Over that time, this project has turned from a short-term experiment into a lasting part of our lives. Though we’ve had some ebbs and flows in our blogging consistency, and we’ve been more careful about keeping to our budget in some weeks than in others, this site has definitely led us to some long-lasting and pretty fundamental changes in the way we shop, cook, and eat.
As a result, the experiment that we were chronicling on this blog has sort of just become a part of how we live our lives, which has made it a bit more laborious to keep writing about. Here and there we’ve been thinking about how we could start a new experiment and get ourselves more enthusiastic about the site…and $15/week didn’t seem like the right direction to go.
As it happens, the $30/Week household is going through some big changes right now. After living in a series of New York City apartments for over 10 years (and in Brooklyn for most of that), we just bought a house in Poughkeepsie, NY, where we’ll be moving at the end of November. Our new home is a 1910 stone house which is going to require a fair amount lot of renovation – mostly aesthetic but also some mechanical – and since we are both first-time homeowners with almost no direct experience in home repair beyond installing dimmer switches, this seemed like a thing that we’d be really excited to write about.
And so we’ve started a new site, Minnisingh, where we are going to write about the process of fixing this place up and making it our home, as well as our experience living somewhere other than New York City for the first time in over a decade. Plus we’ll probably end up writing about some other things like books and movies that always seemed out of scope for this blog.
For those who are really just interested in recipes and cooking, not to worry – we’re definitely not going to stop writing about food! One of the things we’re most looking forward to as new homeowners is having a bit of land that we can devote to some more substantial gardening projects, plus a basement that we can use for a root cellar, and other semi-urban (don’t make me say “suburban…not yet) homesteading projects. And of course, with the new financial responsibilities of home-ownership, frugality and a DIY ethic in food (and everything else) will remain one of our key priorities.
We’ve been pretty amazed and really grateful at how many people have kept with us over the years – locally, across the country, and overseas. We really hope that you’ll follow along as we move on to this new phase.
Storm Cooking
Posted: October 29, 2012 Filed under: The Rundown, Tina Wrote It | Tags: food, hurricane, storm 4 CommentsWe prepped quite a bit for Hurricane Sandy and probably spent $30 bucks just getting some stuff as we just don’t know how long this storm will last and when our local supermarket will be open again. So…a bunch of things were made. It’s also Phil’s birthday today, so a great birthday dinner was in order. If we couldn’t go out, we would dine in! Phil’s birthday menu included: homemade bread, mock chicken liver pâté and deviled eggs for starters; roasted carrot and avocado salad (modified) as the first course; a vegetable tagine with couscous as the second course and a cherry cobbler for dessert (thanks Mike for making this earlier!). Pictures to come!
Other things we made that we thought would keep in case the power went out included: black bean veggie burgers (the rest of the black beans are cooked and hanging out in broth for a number of other uses), whole wheat pasta, tomato sauce, a number of hardboiled eggs, a frittata, chocolate chip cookies and the aforementioned birthday dinner stuff (we still have leftovers). It probably sounds crazy, but everything was actually easy to put together and just used up a lot of dried good we already had.
No Time Bread
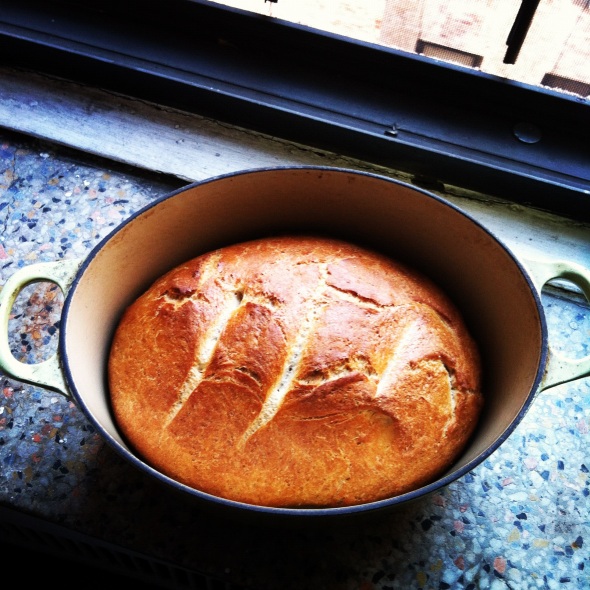
Posted: October 21, 2012 Filed under: Bread, Recipe, Tina Wrote It 8 CommentsI know we’ve referenced this recipe before, but I wanted to bring it up again because it is a great example of how you can make something that is better than store-bought (sliced white bread, I am looking at you). If you’re scared of baking or put off by the amount of time it can take, try this one out. It can be on the table in a little over an hour and it’s easy, cheap and makes your house smell amazing because you will be making FRESH BREAD! If you have bread flour, great! If not, don’t sweat it, this recipe works fine with all-purpose, although you may need a bit more of it. Just follow the directions and you’ll have warm bread to smother with butter or cheese or whatever else you like.
No-Time Bread from Apartment Therapy
Limelight
Posted: October 19, 2012 Filed under: Recipe, Soup, Tina Wrote It | Tags: brookln, frugal, soup, video 1 Comment$30 Bucks a Week was a feature on NY12’s Brooklyn cable news yesterday! We were interviewed by the extremely nice Kena Vernon at our local supermarket and then took her back to our apartment to make some lentil and sweet potato soup. The segment is brief, but we were excited that our message of shopping for fresh food and staying away from prepackaged stuff came through.
For the soup, we sauteed chopped onions and sweet potatoes in olive oil and added 1 cup of homemade broth concentrate, 2 cups of water, a cup of lentils and salt, pepper and fresh thyme. We let the whole thing simmer until the lentils were cooked through and it was the perfect lunch to accompany today’s rainy day.
Baked Donuts
Posted: October 17, 2012 Filed under: Baking, Recipe, Tina Wrote It | Tags: baking, donuts, easy, quick Leave a commentFall means baking! I love summer (salads, garden veggies, tomatoes, sunshine), but fall is my favorite season because I get to start baking again. Turning on the stove in the summer is something I am loathe to do, so come fall, it is baking time!
Using my trusty donut pan, I used this very easy recipe—with modifications (used olive oil and regular dairy). You can really dress these up with just about anything. Get creative! Our toppings included:
- melted chocolate mixed with a bit of bourbon and topped with chopped dried figs
- apple butter with homemade granola sprinkled on top
- cinnamon & sugar
Easy Yogurt Cake
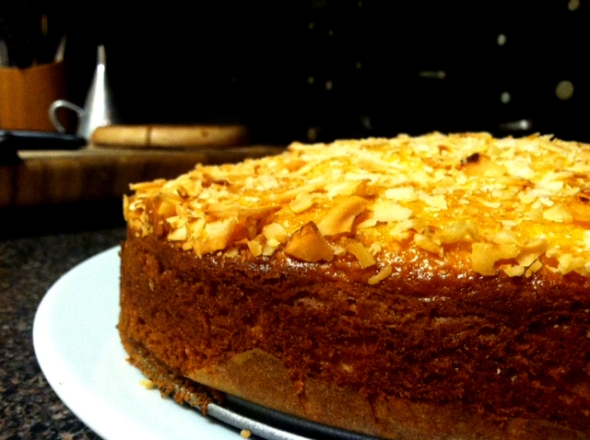
Posted: October 16, 2012 Filed under: Baking, Recipe, Tina Wrote It | Tags: baking, dessert, easy, healthy 1 CommentWe had some yogurt that was nearing its expiration date in the fridge and I remembered the amazing Gâteau au yaourt from Chocolate & Zucchini. An oldie, but a goodie, this cake is easy, delicious and extremely adaptable. I used nonfat plain yogurt, used bourbon instead of rum and glazed the top with some apple cider and sprinkled toasted coconut flakes on the top of it for the last 10 minutes of baking. You could throw some jam in between the layers, top with whipped cream, glaze with chocolate and sprinkle with hazelnuts….the possibilities are endless for this moist and tangy base. You could also eat it plain, with a cup of coffee, for breakfast. Cake for breakfast may help dieters. Seriously!
Baigan Bharta Lasagna
Posted: October 14, 2012 Filed under: Uncategorized | Tags: eggplant, pasta 3 Comments
So, we decided to experiment a little with dinner tonight. We had some lasagna noodles that we wanted to use, and were thinking we could figure out some sort of undiscovered lasagna dish that would revolutionize tiered pasta. This did not happen.
We decided to go for a baigan bharta lasagna, cooking the eggplant first in veggie broth, some tomato paste, garlic, ginger, coriander, and cumin. Once it was soft, we layered it with the pasta and shredded cheese we got at the produce market (labeled simply “Trinidad Cheese”) and baked it covered for 20 minutes and then uncovered for about 40. It came out looking pretty good.
Unfortunately, the eggplant released a lot of water, so beneath the crusty top it lacked the structural integrity you want in a lasagna. Also, the Indian spices weren’t really bold enough to overcome the pasta, tomato, and cheese combination. In the end it was tasty, but if you didn’t know what was in it, you would have just thought it was slightly-different, slightly-wet lasagna.
I still think the Indian lasagna idea has legs though – maybe with aloo matar gobi instead.
Apple Onion & Butternut Squash Tart
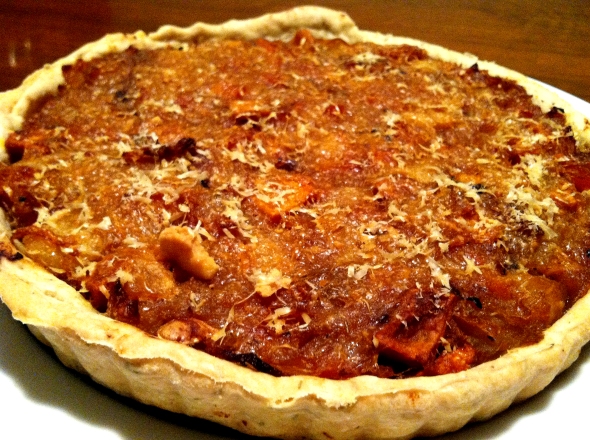
Posted: October 13, 2012 Filed under: Appetizer, Baking, Recipe, Tina Wrote It | Tags: appetizer, apples, easy, onions, tart 3 CommentsAnd now we are at the last of our apples. Thanks apples, you had a good run. We made Very Lazy Fall Apple Butter, an apple crumble, Butternut Squash & Apple Soup, Apple Onion Spicy Chutney and for the finale, this Apple Onion & Butternut Squash Tart. Serve for breakfast, lunch or dinner or cut into thin slices for a great appetizer – I bet it would go fabulously with a dry prosecco. This is a super versatile and delicious tart. The onions, apple and squash cook down to form a great caramelized base that contrasts nicely with the buttery/herbed crust and the salty cheese.
Inspired by this Martha Stewart recipe, I decided to bust out our Rosemary Tart Dough used in the Tomato Tart recipe (scroll down for the tart dough part).
Apple Onion & Butternut Squash Tart
Ingredients:
- 5 onions, peeled and thinly sliced
- 4 apples, peeled and chopped
- 1/2 butternut squash, cut into 1/2″ cubes and roasted (we had this leftover from the soup, you can add the cubes in when you add the apples to save you a step, I’m sure it will be fine)
- salt
- olive oil
- apple cider (vegetable broth or water would do in a pinch)
- 1 Rosemary Tart Dough
- 1/4-1/2 cup grated Parmesan or pecorino cheese
To Do:
- Make your Rosemary Tart dough and be sure to refrigerate it overnight or for at least a couple of hours.
- Heat up the olive oil in a large pot and add the onions. Cook until softened, about 10-15 minutes.
- Add the apples (and butternut squash if it’s not roasted) and 1/4 cup apple cider or water. Let everything simmer with a lid on the pot until caramelized, about 30 minutes. Give it a stir every now and then and add more cider or water so nothing gets burned. Give it a taste. Taste good? Great? Need more salt and/or pepper, season away!
- Heat oven to 375F. Roll out your tart dough and press into a tart pan (f you have leftover dough roll them into twists, sprinkle with parm and bake them – extra treat!). Prick the bottom of the dough with a fork a few times. If you have some spicy chutney, spread it along the bottom and bake for about 10 minutes. If you don’t, sprinkle the bottom with a bit of grated Parmesan cheese or pecorino and bake for about 10 minutes.
- Remove the tart dough from oven and pile on the onion/apple/squash mixture. Spread evenly throughout the pan and top with some more cheese. Your call on how much cheese – remember these are salty cheeses.
- Bake for about 30-45 minutes or until the tart dough and cheese are a beautiful golden brown.
Apple Onion Spicy Chutney
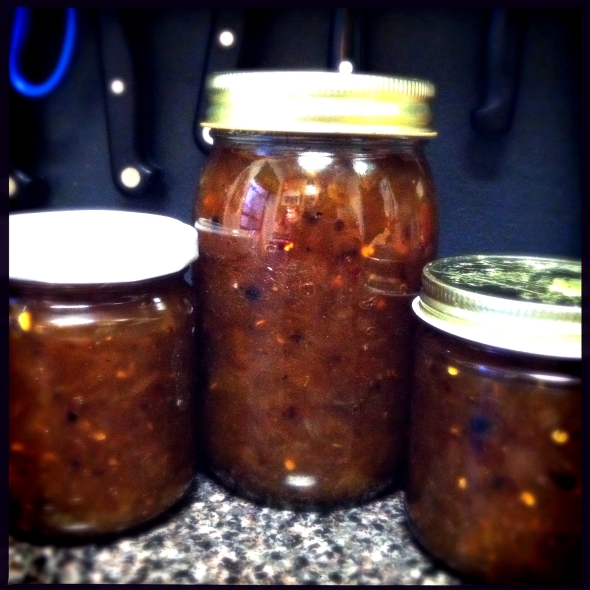
Posted: October 10, 2012 Filed under: Canning, Recipe, Tina Wrote It | Tags: apples, Canning, chutney, easy 5 CommentsI just googled “what is the difference between a jam and a chutney” because I wasn’t sure whether to call this recipe a chutney or a jam. Turns out, a chutney incorporates sweet, spicy and sour elements and isn’t as smooth as a jam. So, this IS a recipe for chutney!
Another recipe created out of necessity to get rid of all of the apples from apple picking. This might be the new hit after Tomato Jam.
It’s spicy, sour and a bit sweet from the apples and caramelized onions. Perfect with grilled cheese sandwiches, in a tart, slathered on eggs, brushed on tofu, plopped into soup….you get the idea.
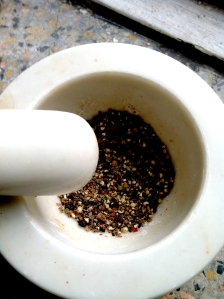
After taking a sauce class with Peter Berley, I’ve really been into grinding my spices right before using them in a recipe. I used our trusty mortar and pestle, but am a big fan of using an out-of-commissioned coffee grinder for large quantities.
Apple Onion Spicy Chutney
Adapted from this recipe.
Ingredients:
- 8 onions, chopped finely
- 4-5 apples, peeled and diced
- 4 cloves garlic, peeled and minced
- 2 cups white vinegar
- 1/2 cup cider vinegar (you could probably use all cider, I just didn’t have enough)
- 2 cups sugar
- 1/2 cup brown sugar
- 3 bay leaves
- 2 teaspoons crushed peppercorns
- 1 teaspoon crushed cloves
- 1 teaspoon crushed allspice
- 1/2 tablespoon crushed red pepper
- 1/2 tablespoon salt
To Do:
- Heat up a bit of olive oil in a large pot and add the onions. Let them cook until softened, about 10-15 minutes.
- Add the rest of the ingredients, stir and bring to a boil. Stir for about 5 minutes and then reduce heat to a simmer.
- Cover pot and walk away. Come back and give it a stir every 15 minutes or so. You want everything to become a lovely brown color and cook down – it can take a while.
- Taste it. Do you like it? Add more spices if you want. Once you can run a spoon through the mixture and a path forms without liquid filling it up, you’ve got the right consistency.
- Pour into jars and can – process in a hot water bath for 15 minutes. You could also pour into jars and put them in the fridge. They should last for a while because of all of the sugar and acid.
Butternut Soup Accomplished
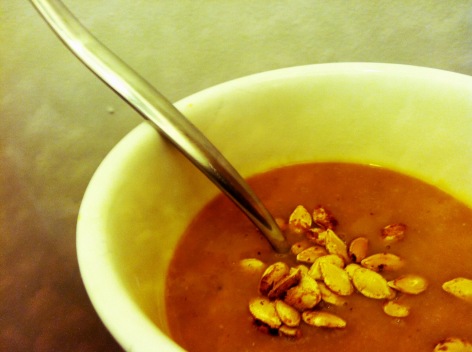
Posted: October 9, 2012 Filed under: Uncategorized | Tags: soup, squash 2 CommentsThe earlier post on butternut squash soup managed to convince us of what we should have for dinner tonight.
We used the roasting method and also, we rinsed the seeds from the squash and toasted them with salt, pepper, and garlic powder. They made a nice, crunchy garnish.



Recent Comments